
Write something

21h •
Refinish Victrola
Purchased a Victrola , very early 1900’s. Its top is a bit wavy. Does anyone know a good book to tell me how to refinish the top and also to give the cabinet a deep gloss look so it all comes out like the 14th coat of hand rubbed lacquer on a finely finished Jaguar. It’s dark mahogany

Sep '25 •
To Pocket Hole... or Not?
I know there are lots of people out there who love pocket holes; but I'm not one of them. Oh, they're useful and I use them when I feel they are appropriate. But that's not the same as people who use them for everything. Like any other method of joinery, there are times when pocket holes are appropriate and other times when they aren't. In this video, I show some places where pocket holes really aren't the best choice available to us.

19d •
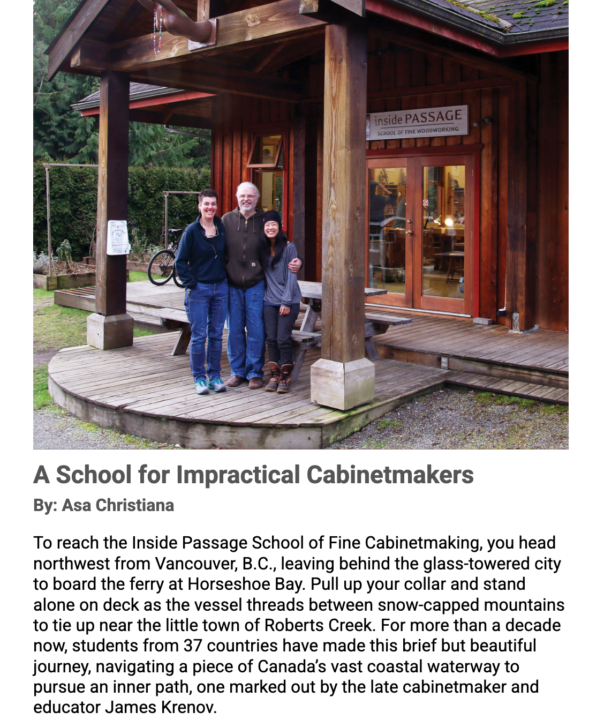
The Krenov Archive
Came across this very interesting article today (image attached) and upon further research I found this archive. Seems very cool. https://thekrenovarchive.org/
1
0

Oct '25 •
Live and learn from your elders
Hi everybody. Newbje here. Anybody else want to say hello. Feel free.🤩
Aug '25 •
How Strong is Strong Enough?
One of the hard-won lessons in woodworking is making things that are strong enough. At least, it was for me. When you start building bigger things, especially furniture, you've got to understand how to make the structure strong, without necessarily making it big, bulky, and heavy. That's a bit of a challenge; but if you understand the principles, it's not that bad. In this video, I break down the basics of making strong structure and show how to apply that to building furniture.
1-20 of 20

skool.com/woodworking-for-beginners
We teach you woodworking from 50 years of experience, with tools you can afford.
Leaderboard (30-day)
1
+12
2

+9
3

+7
4

+6
5

+3
Powered by