
Write something
Pinned

⭐
🔥
22h •
This Saturday: Summer Garden Focaccia, Two Ways 🌸
Look at what summer's handing us right now. Tomatoes coming in. Peppers, herbs, onions, whatever's crowding your counter or your garden. This week we turn all of it into bread. This Saturday's bake is Summer Garden Focaccia, and it might be the most fun we've had in the pan all year. You're going to decorate this one like a garden. Flowers built from peppers and onion. Stems from chives and asparagus. Tomatoes and olives for color. A wildflower meadow, a summer sunset, your kid's name across the top, whatever you dream up. No two loaves in this kitchen will look alike, and that's the whole point. We're running it two ways, so there's a lane for everybody: Yeasted, beginner-friendly. One bowl, no mixer, no starter. Mix Friday night, rest cold overnight, decorate and bake Saturday. If you're newer to bread, this is your week. pantry.bakinggreatbread.com/recipes/summer-garden-focaccia Sourdough, intermediate. For the starter crowd who wants the tang and the big, wild bubbles. Build your levain Friday, cold ferment overnight, bake Saturday. Sandy, Colleen, this one's calling your name. pantry.bakinggreatbread.com/recipes/sourdough-summer-garden-focaccia Both recipes have all four decorating tutorials built in, so you've got real guidance, not just "arrange some veggies." And they link to each other in the Pantry, so pick your lane or peek at both. Here's the rhythm: Friday, get your dough going (sourdough folks, feed that starter first). Saturday morning, decorate and bake together. Doors open 8:00 AM ET Saturday and we bake all day. There's one trick that decides whether your garden comes out beautiful or burnt, and I'll walk you through it all week leading up to Saturday. Stay close. So tell me: yeasted or sourdough, and what's in your garden or fridge right now that's going on top? Drop it below. Let's start planning our gardens.

Pinned
⭐
🔥
22h •
Before you buy another baking tool, read this first
A few of you have been asking me lately for recommendations. What scale do I use. What lame should you buy. Is that proofer really worth it. For a long time the only thing I had to point you to was my shopper's guide. And I'll be honest with you, I never sent it out with much confidence. I've been picking at it, off and on, for three years, and it never got to a place where I felt good putting my name on it. That changed this week. The guide is done. It's presentable. And more important than presentable, it's honest. Every item in it is either something I use in my own kitchen, or it's made by a company whose product I use and believe in. If I don't stand behind it, it isn't in there. That's the whole rule. Some of these companies I've built real relationships with. Wire Monkey. Brod & Taylor. Holland Bowl Mill. Sourhouse. ModKitchn. I'm an affiliate partner with these folks, and what that means for you is that I can sometimes get you a discount. And when times are good, a discount on top of whatever sale they're already running. So here's what I want you to do. Before you buy a new tool, a new appliance, anything for your baking, check here first. If it's in the guide and there's a promo code attached to it, that's money back in your pocket. Now the honest part, because you deserve it straight. On some of these products I may earn a small commission. It does not change your price, not by a penny. And that money doesn't disappear into my pocket and stay there. It goes right back into making Crust & Crumb Academy a better place for you and for every baker who walks through that door. 👉 https://holiday-gifts-2025.lovable.app I'm putting this in the Classroom, on the first or second row, so it's always easy to find. Any time you need it, go to the Classroom at the top of the page and look for it. It'll be right there waiting for you. Bake well, Henry⭐🔥

Pinned
⭐
🔥
2d •
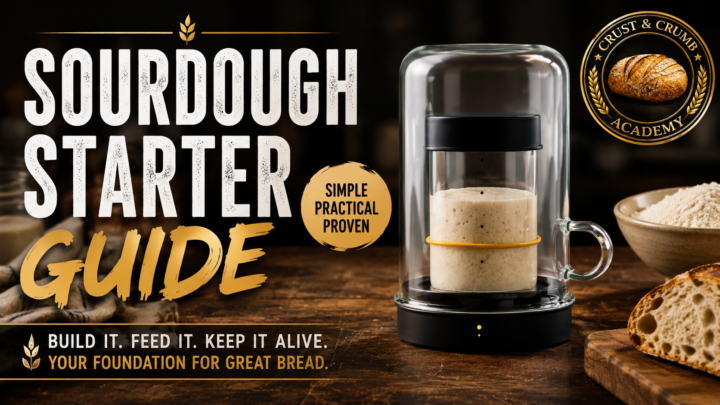
🫙 The Sourdough Starter Care Guide Just Got a Facelift
I went back through our Sourdough Starter Care Guide and gave it a complete refresh. It is not just prettier. It is easier to navigate, easier to understand, and much more useful when you are standing in the kitchen wondering what your starter is trying to tell you. The guide can always be inside the classroom button at the top of our page. https://www.skool.com/crust-crumb-academy-7621/classroom/5e132945?md=10b2221ee5774f8aaed5306cf692d08d Inside the updated guide, you will learn how to: ✅ Build a starter from scratch ✅ Feed it without wasting a mountain of flour ✅ Recognize peak activity and baking readiness ✅ Choose the right jar and keep it clean ✅ Prepare your starter for bake day ✅ Tell harmless hooch from contamination ✅ Dry and store a backup ✅ Understand starter temperature, flavor, and feeding rhythm I also added new visual examples, clearer chapter navigation, a starter resource library, and links to the tools we use throughout the Academy. Whether your starter is brand new, neglected in the refrigerator, or bubbling happily on the counter, this guide will help you understand what to do next. 🔗 Open the updated guide: https://sourdough-starter-guide.vercel.app/ Bookmark it. Keep it close. Come back whenever your starter starts speaking a language you do not understand yet. This free guide contains clearly labeled affiliate links. Perfection is not required. Progress is. ~Henry⭐🔥

2d •
Too much heat!!
We are under another heat warning, and for those of you who are under the same heat warning, please stay safe, hydrated and in the AC. It’s brutal out there!!

⭐
🔥
1h •
Russell’s asking the right questions. Here’s the short version nobody gives you.
Starter timing. If you mix flour and water only, then rest, that’s an autolyse. If you throw the starter in with it, that’s a fermentolyse. Different thing, different name. The reason it matters is acid. A true autolyse sits at neutral pH, and that lets the enzymes in the flour work without interference. Protease loosens the protein, amylase starts breaking starch into sugar. You get extensibility. The dough stretches instead of fighting you. Add the starter up front and fermentation begins on minute one. The acid starts tightening things sooner, bulk runs shorter, and you’ve saved yourself a step. So who’s right? Both. If you’re running weak flour, a lot of whole grain, or 80 percent hydration and you need that dough to stretch, autolyse first. If you’re using strong bread flour at 70 percent and you want fewer steps, mix it all together like I do and move on with your day. Coil fold versus slap and fold. These aren’t competing. They’re doing two different jobs at two different times. Slap and fold builds gluten. It’s mechanical, it’s aggressive, and it’s what you reach for early when the dough is slack and there’s no structure yet. Front-load the work, get strength fast. Coil fold maintains. It’s for during bulk, after fermentation is producing gas. It organizes the gluten and adds a little tension without knocking the air out of what you just spent four hours building. Slap early. Coil later. Somebody doing nothing but coil folds is letting time and hydration do the developing, and that works fine if the schedule allows. Nobody explains this because the honest answer is “depends on your flour, your hydration, and your clock.” Doesn’t fit on a thumbnail. But it’s the truth. Perfection is not required. Progress is. ~ Henry ⭐🔥

1-30 of 2,275
powered by
skool.com/crust-crumb-academy-7621
#1 Sourdough Community on Skool 🍞
Coaching, not judgment. Sourdough, starter, yeasted, enriched & every bread between.
✅ ProveWorth Certified ⭐⭐⭐⭐⭐
Suggested communities
Powered by