Activity
Mon
Wed
Fri
Sun
Jul
Aug
Sep
Oct
Nov
Dec
Jan
Feb
Mar
Apr
May
Jun
What is this?
Less
More
Owned by Jill
DISCOVER🔥Substack Amplify Your Voice Monetize Your Mission & Get Visible leveraging Substack Join the You World Order Today
A public resource hub to help coaches and creators get started on Substack without overthinking it.
Memberships
Embrace Your Inner Weirdo
70 members • Free
Seen and Unseen
37 members • $49/month
Living The Game of Life
89 members • Free
The Flemish Ardennes Life
57 members • Free
LUXX Creator Academy
191 members • Free
Break the chains from FOOD
48 members • Free
💖 Love Yourself to Health 💖
98 members • Free
AI Online Educators & Coaches
2.6k members • Free
The Wealthy Woman Mastermind
36 members • Free
63 contributions to 🔥Substack Starter Space🔥

🔥
6h •
🔥 You're Not One Funnel Away From More Sales...
You're One Experience Away. 🚨 THIS might be the missing piece if you're getting visibility... but not seeing enough sales. 🚨 You've done the things. ✨ Created the freebie ✨ Hosted the webinar ✨ Ran the challenge ✨ Built the email sequence ✨ Posted consistently ✨ Shared valuable content ✨ Collected testimonials And yet... 🤔 People say: "That was amazing!" "That was so helpful!" "I love your content!" But they don't buy. Why? Because information doesn't create belief the way it used to. People can watch hours of content. People can read your emails. People can consume your posts. 📚 Information teaches. 🔥 Experience convinces. When someone experiences a result for themselves... Everything changes. That's why I'm excited for today's Monetize Your Mission Mastermind guest: ✨ Katya McEwen ✨ Founder of Oracle Connections Katya will be teaching her Mini-Project Magic™ framework and showing how a simple interactive experience can help people move from: 🤔 "This sounds interesting..." to 🙌 "I can see this working for me." In today's session you'll discover: 💡 How to identify your own Mini-Project 🛠️ How to create a companion tool or experience that brings it to life 🧠 Why experience builds trust faster than information 💰 How a single live experience can naturally lead into your paid offers If you've ever felt like you're giving away tons of value but still struggling to convert attention into clients... you'll want to be here. 👀 📅 Today⏰ 2:00 PM Mountain Time 🔗 Join us live: https://us06web.zoom.us/j/82173053137?pwd=LvWmj0jftv7dmZv7xB0lKcaarU1YHs.1&jst=2 🌟 Want to check out Katya's community? Oracle Connections Drop a 🔥 below if you're joining us live!
2
0

🔥
20d •
🫣A Peek Behind the WHY
The reason I created this intensive is because I kept seeing the SAME things over and over again when I visited people’s Substacks 👀 Someone would have: ✨ a beautiful message ✨ great ideas ✨ real wisdom ✨ years of experience ✨ so much potential… …and then their publication wasn’t actually set up correctly 😭 🔄 Their profile kept looping people away from the publication instead of toward it. 💰 Monetization wasn’t turned on. 📩 Or Substack was still using the default “pledge” page because nobody realized that’s the automatic setting. (Substack wants people using paid subscriptions because that’s how THEY make money too 😅) Then I’d subscribe and realize: 😬 the About page was still generic 😬 the welcome email hadn’t been personalized 😬 the publication emails were still using defaults 😬 the reader journey just… stopped And it honestly makes me sad sometimes because the content itself is often SO GOOD 💔 The foundation just never got fully connected. That’s why I built this as a hands-on intensive instead of another: 📚 “watch these videos someday” course. You get the 📝 pre-intensive setup guide BEFORE we meet so you can gather: ✨ your ideas ✨ your offers ✨ your messaging ✨ your branding ✨ your categories ✨ your publication direction …ahead of time. Then during the live session we actually WORK 💪💻 ✅ You set things up ✅ You ask questions ✅ We troubleshoot hiccups together ✅ We fix weird Substack twists together ✅ We make sure your publication is functioning like an actual platform and not just a random collection of posts This is very much a: 🖥️ “Okay… share your screen and let’s figure this out together” kind of experience 😄 ✨ Two ways to participate ✨ 1️⃣ Become a Premium Member of the You World Order Skool Community 💜 $27/month Access to the intensive as long as you remain a premium member PLUS: ✨ The Challenge 💬 Mini Offer Creation Engine 📚 Client Acquisition System Challenge
🔥
0 likes • 23h
@Carey Kaas come join us over in the You World Order Community - I created this mostly for seo - We're super active over there. We're also running the Substack Setup Intensive live Friday the 26th of June again (10am mtn) Three ways to do that 1. buy it a la cart or $47 https://hartlifecoach.com/substack-intensive become a premium member of the You World Order Community which has a bunch of other benefits in addition to the Intensive and the 3rd way is to help us get to best seller status on Substack! $45 for the annual subscription over there gets you access to the❤️🔥𝗙𝗶𝗿𝘀𝘁 𝗣𝗮𝗶𝗱 𝗦𝘂𝗯𝘀𝗰𝗿𝗶𝗯𝗲𝗿 𝗥𝗼𝗮𝗱𝗺𝗮𝗽 𝗔𝘀𝘀𝗲𝘀𝘀𝗺𝗲𝗻𝘁. This interactive tool helps you identify the fastest path from publishing content to attracting your first paying subscriber or client. You’ll discover your biggest growth bottleneck, your strongest opportunity, and the specific actions most likely to move you forward. (it will take you 5 minutes or less!) Available only to paid SUBSTACK subscribers. Upgrade today and unlock your personalized roadmap. Until we hit best seller status $5/monthly and $45 for the whole year - annual membership includes the ❤️🔥𝗦𝘂𝗯𝘀𝘁𝗮𝗰𝗸 𝗦𝗲𝘁𝘂𝗽 𝗜𝗻𝘁𝗲𝗻𝘀𝗶𝘃𝗲 - Build your foundations so you can monetize and make your publication sustainable. We are doing the live again on June 26th at 10am mtn And we're doing a free 3 day Podcast Profit Path Finder Challenge next week over there too you can learn more about that here: Podcast Profit Path Finder 3 Day Challenge - Build Authority, Grow Your Audience, & Attract Clients Through Podcasting & Substack sorry for turning the fire hose on you - it's just we've got a lot happening and I wanted to let you know!
🔥
14d •
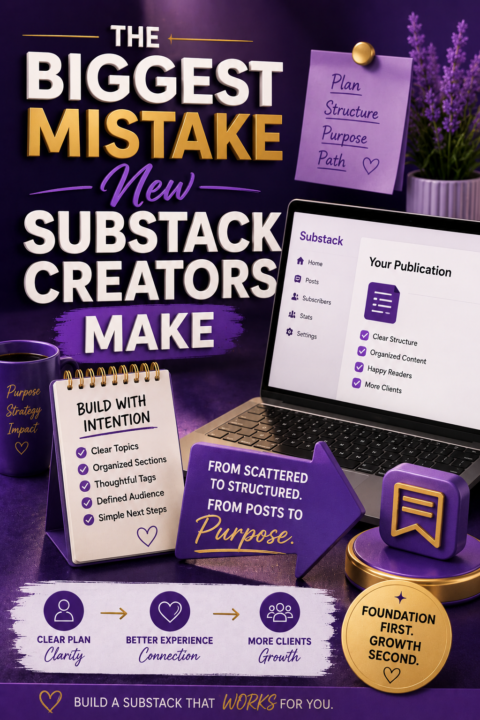
🚨🫣Biggest Mistake Content Creators Make On Substack
The biggest mistake new Substack creators make isn't posting too little. It's publishing before they have a plan. A few posts become ten. Ten become fifty. Then one day they look around and realize: 👉 Their content feels scattered. 👉 Readers don't know where to start. 👉 Growth feels slow. 👉 Clients aren't showing up. The problem isn't usually the content. The problem is the foundation underneath it. A clear structure, organized content, and a simple subscriber journey make everything easier. Before you create your next post, ask yourself: 💭 What is this publication actually designed to do? 👇 I'd love to hear your answer. Why did you start your Substack in the first place? 💜 The full lesson, The Biggest Mistake New Substack Creators Make, #📚The Biggest Mistake New Substack Creators Make is now available inside the Substack Foundations classroom.
🔥
1 like • 6d
@Marama Elizabeth that's a wonderful space to be in and Substack & Skool will work perfectly for that - if you'd like I'm happy to jump on a call with you and sort out some ideas for how that could look for you - https://hartlifecoach.com/client-acquisition-audit
🔥
29d •
🚀 Daily Notes Strategy for Substack
The goal of Notes is not to “go viral.” The goal is to: - stay visible - create conversations - build authority - attract aligned people - move people into your ecosystem naturally - Most people treat Notes randomly. The people growing fastest on Substack are treating Notes like relationship marketing. That means: - consistency over perfection - conversations over broadcasting - visibility with intention - 🌟 The Core Strategy The easiest way to approach Notes is to think in 4 categories: 1. Authority Notes These build credibility and position you as someone who understands the problem. Examples: - lessons - mindset shifts - client breakthroughs - mistakes people make - quick strategies - industry observations - Example: Most coaches do not have a visibility problem. They have a clarity problem. Visibility simply amplifies what already exists. 2. Conversation Notes These are designed to spark engagement. Examples: - yes/no questions - unpopular opinions - this or that - relatable experiences - simple debates - Example: Hot take: Long-form content is becoming MORE important, not less. Agree or disagree? OR Miracle Whip on tacos… yes or no? 😂 3. Personal / Human Notes People connect with people. These Notes create emotional connection and relatability. Examples: - behind the scenes - lessons from life - stories - funny moments - failures - observations - beliefs - Example: Building a business in your 60s feels very different than building one in your 20s. Less urgency. More alignment. More peace. Better decisions. 4. Promotional Notes This is where most people go wrong. Promotional Notes work best when: - mixed naturally into valuable content - tied to a real problem - connected to a transformation - conversational instead of pushy - Example: Seeing so many people struggle with messy Substack setups right now. That’s exactly why the next Substack Setup Intensive exists. Saving people days of frustration and helping them build it correctly from the start.

🔥
0 likes • 16d
@Dr. Barbara L. Ciccarelli it's not so much about not promoting, but doing it in a way that doesn't feel spammy
🔥
0 likes • 6d
@Bonnie Chan you are welcome!!
🔥
9d •
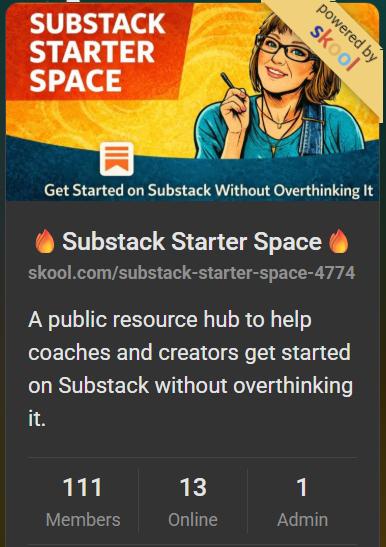
We Hit 111 - You Know How Much I Love Angel Numbers?
111 and 11 11 are my very favorite angel numbers. For a space that was created to function as SEO for Substack-The You World Order - I'm rather bowed over by the response over here. The Substack You World Order community is private - that means that nothing I post over there gets indexed. Which is why I created this space - because everything here does! The Best way to use this space is to create posts about what you're doing here and on Substack - add your links! It's okay. USE the SEO juice by commenting on posts I make - but create your own too. Thanks again for being part of this movement!
🔥
3 likes • 9d
@Caroline Fransz heck yeah, I've always thought so
1-10 of 63

🔥
@jillhart
🙋♀️I help coaches turn Substack content into visibility, conversations, & paying clients.
🚨Learn how 👉Join the You World Order 🔥💜
Active 13m ago
Joined Jan 31, 2026
ENTJ
Preston, Idaho