

3d •
A potter I haven't seen before
This potter is named Reida Sage, and here is her page... https://www.youtube.com/@reidasage

14h •
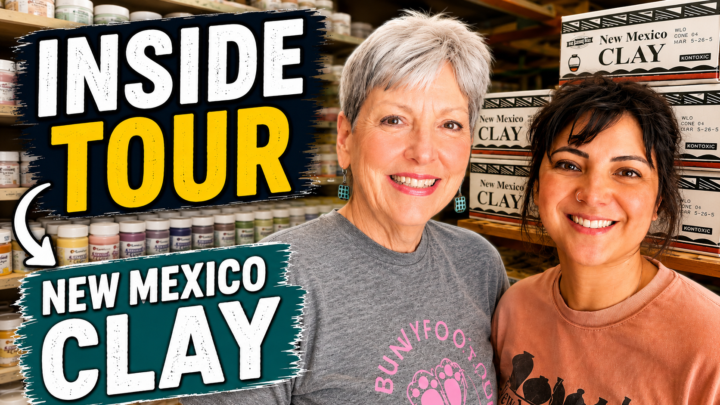
New Mexico Clay Video
I’m very excited that the 2nd video from my Albuquerque trip will post at 1pm central time today! It’s only 21 minutes long, but packed full of behind the scenes tour and Coyote, Amaco and Mayco info. I hope you get a chance to watch it. Early views, likes and comments really help it reach more viewers! I will follow this up next week with a video about Coyote Clay.


5h •
Help please!
If any of you feel inclined could you please go watch, like, comment, hype...my video review of the upgraded Vevor Pottery Wheel? I know there have been a ton of reviews on Vevor wheels, but I feel humbled and honored that they allowed me this opportunity. My channel has been dragging lately for whatever reason, and I just would like to help this video along. I appreciate you all so very much 💙 https://youtu.be/IJJFI-A6oUs?si=6NxyRRoNG4MRN850

11h •
Do C02 Laser engraving/cutting machines have a place in pottery???
A few years back I purchased my C02 Laser engraving machine and went down the rabbit hole of YouTube learning. My machine has allowed me the chance to make beautiful products from making intercate molds, acrylic and wood stamps, rim templets, surface designs, impression mats, as well as cutting and engraving almost all types of products. I know there is a large amount of members that have a hard time getting some of these products delivered or simply do not have the funds to buy it from those big companies. Plus the designs the company is making is the companies design and not necessarily your design or idea. This is what drove me to buy the machine so I didn't have to keep buying products of others designs. After speaking with Suza our admin, fellow potter and friend. I wanted to take this time to offer our group members the option to be able to use my machine. I think it would be great fun to collaborate and make products you all may need. So if there is a product or something you cant get your hands on and if I can help in anyway. Please know I am available to help bring fourth your ideas.

1-30 of 380
powered by
skool.com/pottcast-your-pottery-talk-9668
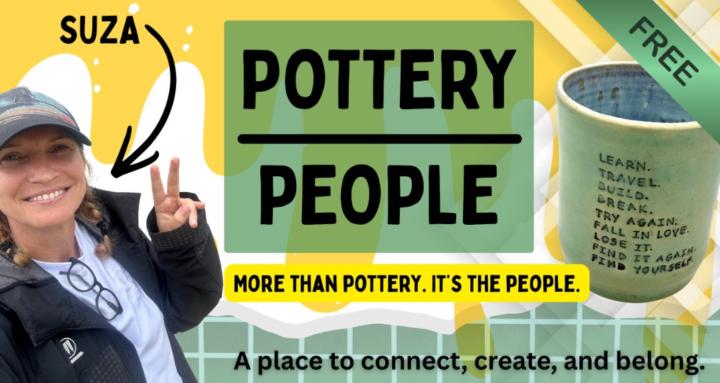
Connect with other potters 💛
Learn Pottery Tips & Tricks ☕️
Share your Creations 🔥
Talk about life 🥰
Suggested communities
Powered by