
Write something

8h •
Stop Extra GHL Follow-Ups
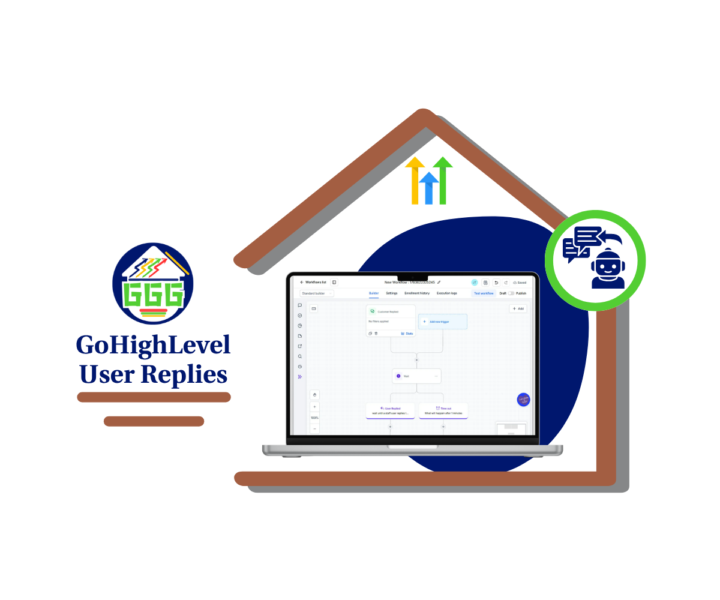
GoHighLevel just made it easier to stop automation when a real person steps into the conversation. The new User Replied Goal lets a contact jump ahead in a workflow as soon as a team member sends a reply. That means GHL can skip the emails, texts, waits, or reminders that no longer need to go out. This matters because automation should help your team, not fight against it. Picture this. A lead enters a seven-day nurture sequence. On Day 2, a sales rep replies by SMS. Without the right setup, the lead may still receive the next email or reminder. That can feel awkward and make the business look less organized. With the User Replied Goal, the contact moves straight to the Goal step. The extra automation is skipped, and the team can handle the conversation from there. 👍 You can also control which replies count. Choose the channel GHL should watch, such as Email, SMS, Facebook, Instagram, or WhatsApp. Then decide whether the reply can come from any user, the assigned user, or selected team members. This gives you a clean way to manage: - Sales nurture sequences - Support reminder workflows - Appointment follow-up - Lead response handoffs - Client communication workflows The setup is simple. Add a Goal Event to the workflow, select User Replied, choose the channel and user settings, then test it with a sample contact. The big benefit is control. Your team can reply without worrying that another automated message will land five minutes later. Contacts get a smoother experience, and your workflows stay in step with real conversations. 👌 This is a small GHL update, but it solves a common problem. Add it to one active workflow, test it, and see where it can clean up your follow-up process. Check out all the details at GoHighLevel Growth Garage > https://gohighlevelgrowth.com/ghl-updates/use-the-user-replied-goal-in-ghl/
0
0

16h •
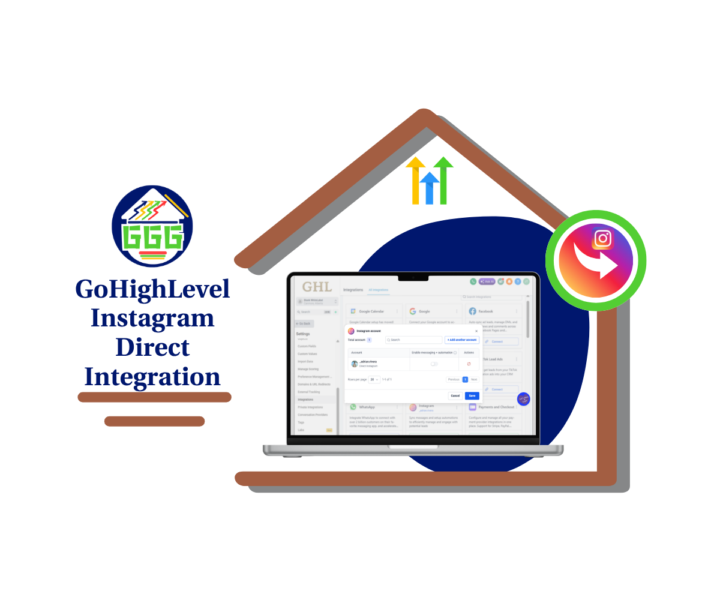
Instagram DMs Got Easier in GHL
Instagram just became easier to manage inside GoHighLevel. 👊 The new Instagram Direct Integration gives GHL users a cleaner way to connect Instagram accounts, manage DMs, and control automations from one place. Before this update, most Instagram connections were tied to a Facebook Page-based setup. That still works, so no need to panic. But now, users can connect Instagram accounts directly, which gives agencies and teams more flexibility. This is a big win if your business uses Instagram to start conversations with leads. Think about it. - A lead replies to a story. - Someone asks about pricing. - A prospect sends a DM after seeing a post. - A past customer reaches out with a question. Those messages should not sit in a separate inbox where they are easy to miss. With Instagram Direct Integration, Instagram conversations can sync into the CRM, contacts can be created or managed from chats, and workflows can trigger from Instagram interactions. You can find the Instagram card under Settings, then Integrations. From there, you can manage connected Instagram accounts, add another account, and use the Messaging & Automations toggle to control activity for each account. One important note: if you turn off Messaging & Automations, both Instagram messaging and automation activity stop for that account. So check that setting before you blame the tech gremlins. 😄 This update also helps prepare GHL users for future Instagram-native features like DM-to-followers and Poll Reply automations. - For agencies, this means cleaner client account management. - For businesses, it means faster lead follow-up. - For teams, it means fewer missed Instagram conversations. Start with one account, test your DMs, check your contacts, and confirm your workflows. Then roll it out with confidence. 🚀 Check out all the details at GoHighLevel Growth Garage > https://gohighlevelgrowth.com/ghl-updates/instagram-direct-integration-just-got-easier-in-gohighlevel/
0
0

1d •
📚 Build a Better Voice AI Knowledge Base
A powerful Voice AI Agent starts with a powerful Knowledge Base. Without accurate business information, your AI may struggle to answer questions, provide inconsistent responses, or miss opportunities to help your customers. A well-organized Voice AI Knowledge Base gives your AI the information it needs to deliver faster, smarter, and more reliable conversations. In our latest GHL Growth Garage Mini Guide, you'll learn how to build a Voice AI Knowledge Base that improves AI accuracy and creates a better customer experience. 🚀 Inside this guide you'll learn: 📌 What a Voice AI Knowledge Base is 📌 Why your Knowledge Base matters 📌 How to create a new Knowledge Base 📌 How to add your business information 📌 How to connect Knowledge Sources 📌 How to organize your Knowledge Base 📌 How to test your Voice AI responses 📌 How to maintain your Knowledge Base 📌 Pro tips to improve AI accuracy 📌 Common mistakes to avoid 📌 Best practices for keeping your AI up to date A well-maintained Knowledge Base helps your Voice AI Agent answer questions with confidence, reduce incorrect responses, and provide a consistent experience for every caller. It also saves your team time by allowing your AI to handle routine enquiries using accurate business information. As your business changes, your Knowledge Base should grow with it. Regular updates, testing, and reviewing customer conversations will keep your AI informed and performing at its best. If you're using GoHighLevel Voice AI, this guide will help you build a stronger foundation for every AI conversation. Full Post Here! 💬 What's the first piece of information you'd add to your Voice AI Knowledge Base? Share your ideas or best practices in the comments—we'd love to hear how you're improving your AI Agent! 🚀
0
0
1d •
User Replies Just Got Smarter
GoHighLevel just made the Wait action more useful for sales and support teams. You can now pause a workflow until a team member replies to a conversation. That means GHL can track your team’s response activity, not just the contact’s reply. 👀 This is a solid update for anyone managing first-response times. Before, you had to rely on manual checks or extra workflow steps to see if someone replied. Now, you can use the new User Replied wait condition to keep things cleaner. Here’s where it gets useful. You can set a timeout. If a staff user replies before the timeout, the workflow continues like normal. If no one replies in time, the workflow can move into a backup path. That backup path could: - Send an internal alert. - Create an urgent task. - Notify a manager. - Reassign the conversation. - Tag the contact as a missed SLA. For sales teams, this helps stop hot leads from sitting too long. For support teams, it helps keep response standards clear. For agencies, it gives you a better way to build SLA workflows for clients without making the workflow builder look like a plate of spaghetti. 🍝 Start simple. Build one workflow that waits 15 minutes for a sales reply or 30 minutes for a support reply. Test both paths, then roll it into your real process. Small update. Real impact. Better response tracking inside GHL. 🔧 Check out all the details at GoHighLevel Growth Garage > https://gohighlevelgrowth.com/ghl-updates/gohighlevel-user-replies-build-smarter-sla-workflows/
0
0
2d •
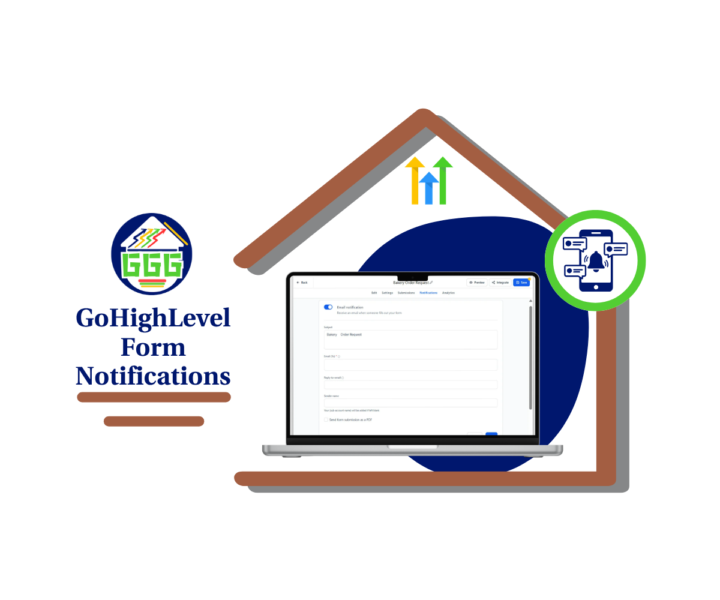
Form Notifications Just Got Easier
Small update. Big cleanup. 🙌 GoHighLevel has made form notifications easier to find inside the builder. Instead of looking for the old icon, users now have a dedicated Notifications tab inside Forms, Surveys, and Quizzes. That may not sound huge, but if you’ve ever trained a new team member inside GHL, you know why this matters. When a lead fills out a form, survey, or quiz, someone needs to know fast. If the notification setting is hard to find, it creates room for missed alerts, slow replies, and messy client follow-up. Nobody wants to explain that one. Now, the Notifications tab is clearly labeled at the top of the builder. You can open it, review the email notification settings, update the recipient, check the subject line, and save the setup without hunting around. GHL also improved builder tooltips. These now include clearer descriptions, better context, and Learn more links where supported. That means users can better understand settings while they work instead of stopping to search the Help Center. Why is this useful: - It makes form setup faster. - It helps new users learn the builder. - It reduces support questions. - It helps agencies train VAs and team members. - It lowers the chance of missed lead alerts. This is not a flashy update. It is a practical one. And practical updates are often the ones that save the most time. Before your next form, survey, or quiz goes live, open the Notifications tab and send a quick test submission. A few minutes now can save a missed lead later. ⚙️ Check out all the details at GoHighLevel Growth Garage > https://gohighlevelgrowth.com/ghl-updates/form-notifications-are-now-easier-to-find-in-gohighlevel/
0
0
1-30 of 919
skool.com/ghl-growth-garage
GoHighLevel Updates, Guides, Tools, Training, Marketing Strategies and More!! 🔧🔨Free Business Snapshot!!
Leaderboard (30-day)
1

+1
2

+1
3

+1
Powered by