
Write something

17d •
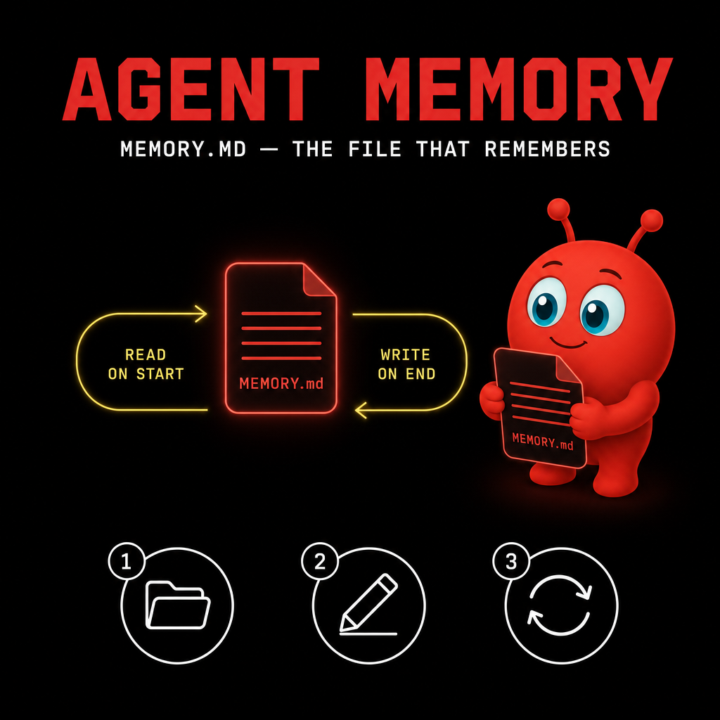
How to give your OpenClaw agent memory that survives restarts
One of the first things people hit with OpenClaw is the "goldfish problem" — the agent feels sharp inside a session, then forgets everything the moment the daemon restarts. The fix is built in: MEMORY.md. Here's the idea. MEMORY.md is a plain markdown file your agent reads on every session and writes back to as it learns. It's not a database, it's not a vector store — it's a file you can open, edit, and version-control like any other. Step 1. Create the file. Drop a MEMORY.md inside the directory your agent runs from. Empty is fine to start. The agent will pick it up on the next session. Step 2. Seed it with what you actually want remembered. Things that earn their place in MEMORY.md: who you are, what tools you use, recurring projects, names of people the agent will see again, conventions you don't want to repeat ("I prefer bullet summaries", "always reply in British English"). Things that don't: one-off task context, secrets, anything you'd rather it forget. Step 3. Let the agent edit it back. The whole point is durability across restarts, so let the agent append to it during sessions. If you want tighter control, review the diff at the end of the day and trim. Treat MEMORY.md like a journal you both write in. A common mistake is making it too long. If MEMORY.md grows past a few hundred lines, the agent spends tokens re-reading background instead of doing work. Prune aggressively — keep it lean. Hope that helps. Cheers Jason West 🙌
27d •
Setting up your first skill in OpenClaw, a 4-step walkthrough
Skills are how you teach OpenClaw to do specific things consistently. Once you've got one wired up, you can call it from any agent, on any channel, with the same predictable behaviour. Here's the fastest way to set up your first one. Step 1. Create the skill directory. Inside your OpenClaw install, head to the skills/ folder and make a new directory named after what your skill does. Keep it lowercase and hyphen-separated. Example: skills/weekly-summary/. Step 2. Add a SKILL.md file. This is the brain of the skill. At the top, drop in YAML frontmatter with at least name and description. The description matters, it's what your agent uses to decide when to trigger the skill, so be specific about the situations it should fire in. Below the frontmatter, write the instructions in plain English. Treat it like a one-page brief for a junior teammate. Step 3. Drop in any helper files. If your skill needs a template, reference doc, or prompt fragment, put it alongside the SKILL.md in the same folder. The agent can pull from anything in there at runtime. Step 4. Reload the daemon. Restart your OpenClaw daemon so it picks up the new directory. The skill should show up in your agent's available toolkit on the next invocation. Once you've built one or two, the pattern becomes muscle memory. ClawHub (clawhub.ai) is also a good place to browse community-built skills for inspiration before rolling your own. What's the first skill you'd want to build for your agent? Drop it below.
Apr 24 •
Connecting OpenRouter to OpenClaw — one command, done
If you're running OpenClaw and haven't connected it to OpenRouter yet, you're either spending more than you need to on API calls or you just haven't tried it yet. OpenRouter lets you route requests across dozens of models (including Qwen 3.6 Plus, which is currently free with a 1M token context) from a single API key. Here's the command to get it set up: openclaw onboard --install-daemon --auth-choice apiKey --token-provider openrouter --token "sk-or-your-key-here" Replace sk-or-your-key-here with your actual OpenRouter API key (grab one at openrouter.ai if you don't have one — takes about 60 seconds). A few things to check if it doesn't work first time: Your key starts with sk-or- — OpenRouter keys have that prefix. OpenAI keys start with sk- and won't work here. OpenClaw is installed globally and current: npm install -g openclaw@latest The daemon has permission to run — on macOS you may need to approve it the first time. Once connected, you can switch models per-command or set Qwen 3.6 Plus as your default to keep costs near zero while you're experimenting. What models are you routing through OpenRouter? Drop yours below — always curious what the community's running for different tasks.
29d •
How to give your agent memory that survives restarts
If you've been using OpenClaw and noticed your agent forgets everything between sessions, you're missing one of the most useful features in the platform: persistent memory. Out of the box, every conversation starts fresh. The agent doesn't remember your project, your preferences, or what you discussed yesterday. For one-off tasks that's fine. For an agent you actually rely on, it's painful. Here's how to fix it in about 5 minutes. Step 1 — Find your MEMORY.md file Every OpenClaw install has a MEMORY.md file in its config directory. This is where persistent agent knowledge lives across sessions. If you've never edited it, it's probably empty. Step 2 — Add the things your agent should always know Open MEMORY.md and write things like: - Who you are and what you do - - Projects or clients the agent helps with - - Tone and writing style preferences - - Tools, accounts, or services it should know about Plain English works fine. No special syntax needed. Step 3 — Use it Next time you start a session, the agent reads MEMORY.md automatically. Ask it something it should now "remember" — like "what's my tone of voice for client work?" — and you'll see the difference instantly. Step 4 — Update it as you go When you tell your agent something useful, ask it to add that fact to MEMORY.md. Over time you build up an agent that actually knows you, instead of one that resets every morning. This is the single biggest upgrade most people miss. What's the first thing you'd put in your MEMORY.md? Drop it below.
Feb 20 •
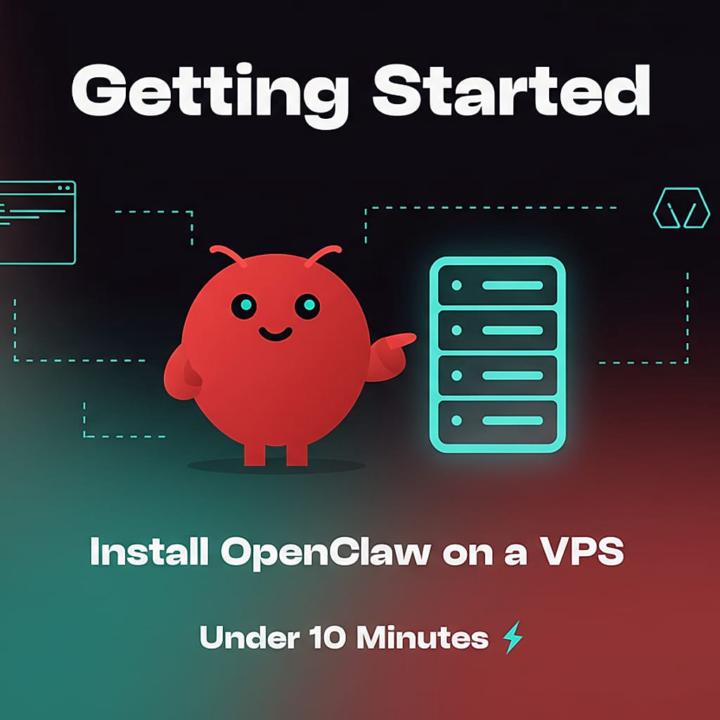
🚀 Getting Started: Install OpenClaw on a VPS in Under 10 Minutes
New here? This is the fastest way to get OpenClaw up and running on your own server. You'll need two things: 1. A VPS (I recommend Hostinger — it's what I use) 2. An API key from an AI provider (Anthropic, OpenAI, Gemini, or xAI) Step 1: Get a VPS If you don't have a VPS yet, grab one from Hostinger. They have a one-click OpenClaw template built right into their Docker Manager, so you don't need to mess around with the command line. 👉 Get a Hostinger VPS here (20% off with this link) The KVM 2 plan is more than enough to run OpenClaw comfortably. Step 2: Deploy OpenClaw If you're buying a new VPS: • Head to the Hostinger VPS marketplace and select OpenClaw • Choose your plan, click Deploy • OpenClaw is automatically pre-selected as the application • Complete the purchase If you already have a Hostinger VPS: 1. Go to your hPanel → Docker Manager (install it if you haven't already) 2. Navigate to the Catalog section 3. Search for OpenClaw and click Deploy Step 3: Configure Your Environment During deployment, you'll see a configuration screen where you can add all your LLM API keys. ⚠️ Important: Copy your OPENCLAW_GATEWAY_TOKEN before moving on. You'll need it to log in. If you forget, you can find it later in Docker Manager → your project → Environment section. You only need ONE AI provider key to get started. You can always add more later. Step 4: Wait for Deployment Docker will pull the OpenClaw image and start the container. This usually takes 1-2 minutes. Wait until the status shows "Running".
1-8 of 8
skool.com/openclawusers
Free community for OpenClaw users to install, build, break, fix and share wild AI agent ideas together.
Leaderboard (30-day)
1

+7
2

+4
3

+3
4

+3
5

+2
Powered by