12d • General discussion
MiG settings explained
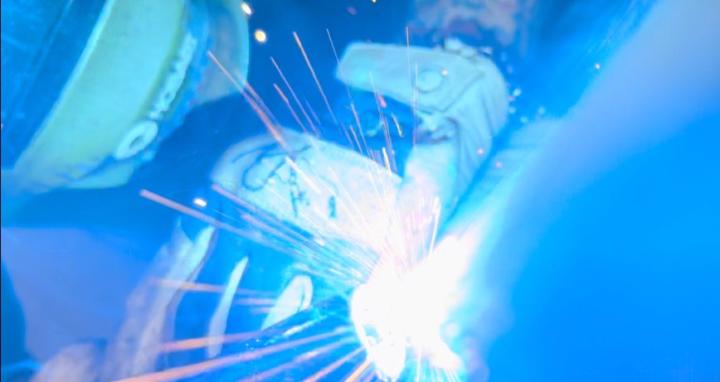
So I’m here to tell you that there is no magic setting to make your mig machine run smoothly well there actually is but it’s dependent on you as a welder things that influence your settings and control how your machine runs are variables like material thickness the thicker it is the hotter we gotta go also travel speed some of us weld faster and can burn hotter on thinner materials some of us are slower and we gotta burn colder due to how fast we weld I’ve noticed that not a lot of companies provide a wps or were welding at home or on our own jobs and there’s no wps written well if you ever run into a wps it will give you a minimum voltage for that particular weld to be made along with a ton of other important information but for those welding at home what should your machine settings be that’s again dependent on a few different things the things I already listed along with your wire electrode type, diameter and even position so for most MiG applications not including FCAW you will be using ER70S aka hard wire used on mild steel the proper setting should sound like a Geiger counter going off (YouTube that sound ) some people say frying bacon but a Geiger counter is a way more consistent and accurate depiction of how it should sound so basically what I’m saying is the machine most likely has a chart on the inside of the door that opens the compartment where the roll of wire goes and it should give you a starting point to adjust and fine tune from based on materials and their thicknesses these are generally high in wfs and sorta cold in voltage honestly I don’t even really pay attention to the numbers when tuning a machine I go off the sound and feel if it’s popping and running jumpy I want to either increase wire feed speed or decrease voltage because it’s either burning the electrode faster than it’s feeding it causing the jumps or it’s not burning it fast enough causing it to jump by pushing unmelted wire into the base material personally on1/16”- 1/4” materials and thinner I like to be in the 18.5 to 21 range with a wire speed from 260-335 but this is all dependent on what machine I’m using and everything else I’ve already talked about but here
Hardwire MIG settings (solid wire) rely on balancing Voltage, Wire Feed Speed (WFS), and Stickout, with higher WFS/Voltage for thicker metal, using DC Electrode Positive (DCEP) polarity, appropriate Argon/CO2 gas mix (like C25), and watching for spatter (adjust WFS/Voltage) or cold lap which is where there is no penetration into the base metal by the electrode so it appears to be sitting on top of the base metal caused by not enough heat in the base material (increase WFS/Voltage/technique), starting with machine charts and fine-tuning for the specific metal and joint.
Key Settings & Principles
- Voltage (Volts): Controls arc force, bead profile, and heat. Higher voltage = flatter, wider bead; lower voltage = taller, narrower bead (can lead to cold lap).
- Wire Feed Speed (WFS - IPM): Controls amperage and penetration. Higher WFS = more heat/amperage/penetration; lower WFS = less heat (can cause spatter or cold weld).
- Stickout (ESO): Distance from contact tip to workpiece. Shorter stickout increases amperage/heat; longer stickout decreases it.
- Polarity: Use DCEP (Electrode Positive) for solid wire to get deep penetration. Check your machine manual.
- Gas: 75/25 Argon/CO2 (C25) is common for steel; 100% CO2 gives deeper penetration but more spatter.
Starting Points (Mild Steel Example)
- Thin Material (e.g., 1/8"): ~15-17 Volts, ~120-150 IPM (0.035" wire).
- Medium Material (e.g., 1/4"): ~18-22 Volts, ~200-280 IPM (0.035" wire).
6
4 comments
MiG settings explained