Resolve School
Private
291 members
Free

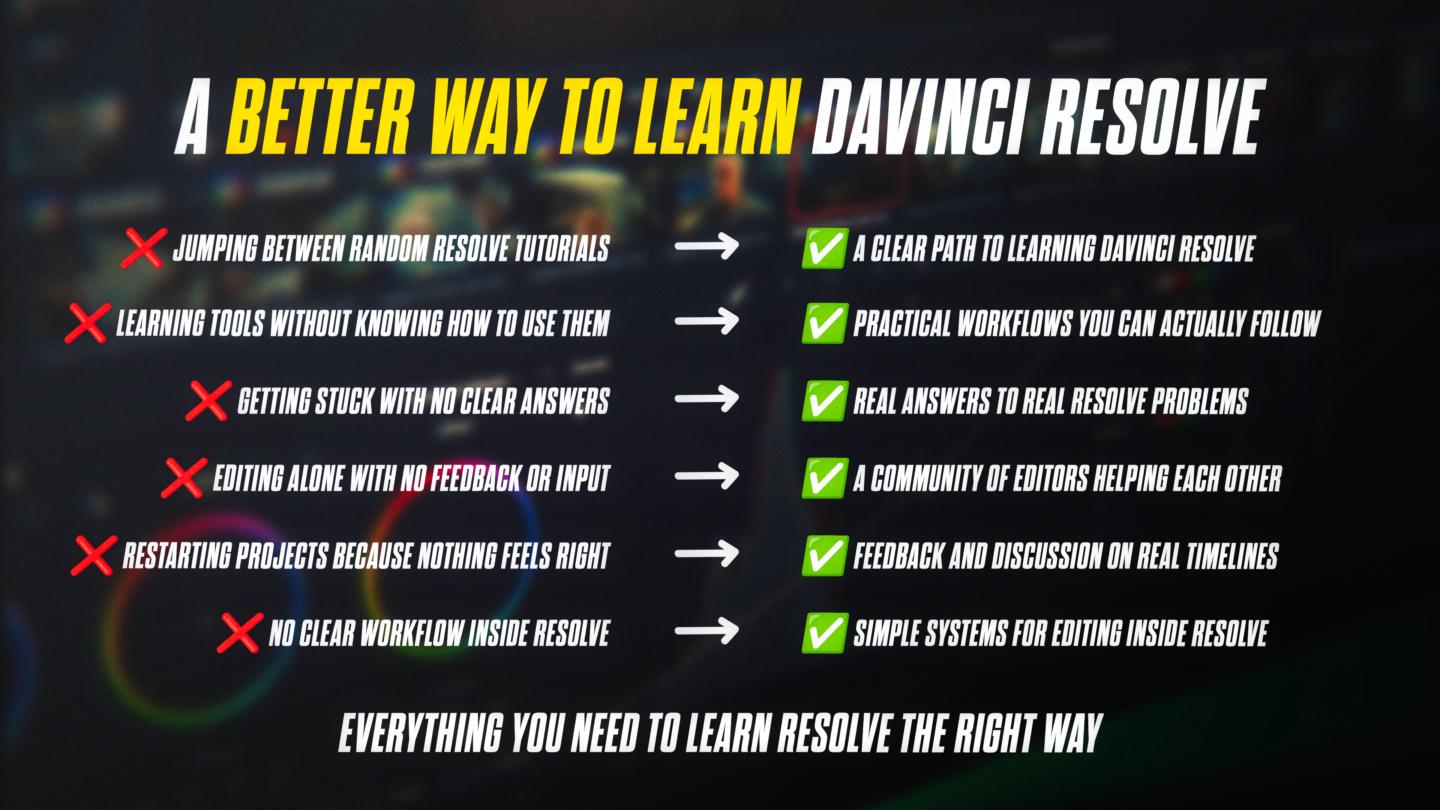
Stop jumping between tutorials and start editing like a real editor.
Resolve School helps you turn scattered DaVinci Resolve knowledge into a clear, repeatable workflow so you can actually finish videos with confidence.
Most editors don’t struggle because they lack tutorials. They struggle because they don’t have a system.
Inside, you’ll learn how to:
🎬 Build real editing workflows from start to finish
⚡ Edit faster without second-guessing every decision
🧠 Make confident editing choices
📂 Organize projects and timelines like a pro
FREE COMMUNITY
💬 Ask questions, get feedback, and stay consistent
🚀 Weekly prompts and wins to keep you moving
GO DEEPER (PREMIUM)
📦 Step-by-step workflows and systems
🎥 Real project breakdowns
📞 Live Q&A and feedback
💼 Learn how to edit for clients
If you can open Resolve but still feel stuck on what to do next, this is where that changes.
Start free and finish your first real edit.
powered by
skool.com/creator-lab-2518
Stop Watching Tutorials. Start Finishing Real Videos In DaVinci Resolve.