
Write something

May 25 •
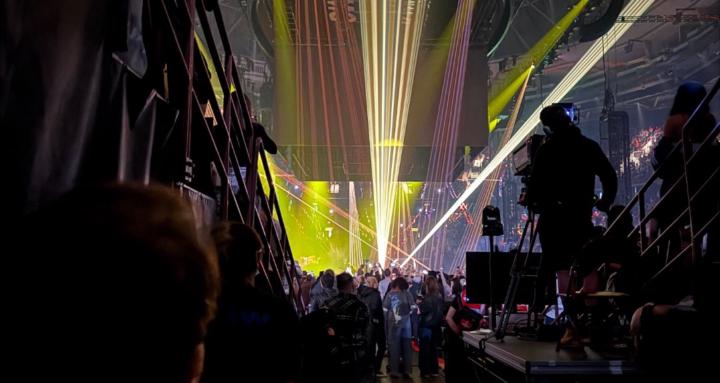
How to Nail Your First Video Switcher Gig
The switcher operator is one of the most invisible roles on a live production — until something goes wrong. When it’s going right, nobody thinks about it. When it’s going wrong, everyone notices immediately. If you want to sit behind a switcher on a real gig, here’s what you actually need to understand. What a Switcher Does A video switcher (also called a vision mixer) is the hub that all your video sources feed into. Cameras, laptops, playback machines, confidence monitors, graphics systems — they all land in the switcher, and the switcher decides what goes to the screen. At its most basic, it’s a selector. At a professional level, it’s a production tool with transitions, layering, keying, and multi-output routing built in. The operator’s job is to make decisions in real time, cleanly and on time, every time. The Bus System Most switchers are built around a bus architecture. The two you need to know first: Program bus — this is what’s live. Whatever is selected on program is on the screen right now. Preview bus (sometimes called preset) — this is what’s queued up next. You select your next source on preview before you cut or transition to it. This two-bus system is fundamental. You never reach blindly for your next source. You pre-select, confirm visually on your preview monitor, then take it. That rhythm — select, confirm, take — becomes muscle memory with practice. Cuts vs. Transitions A cut is an instant switch from one source to another. No ramp, no fade — just a clean edit. Cuts are the workhorse of live production. They’re direct, they’re fast, and when timed right they’re invisible to the audience. A transition moves between sources over a defined duration. The most common is a dissolve (also called a mix or crossfade) — one source fades out as another fades in. There are also wipes, pushes, and DVE moves, but in corporate and event production, you’ll mostly live in cuts and dissolves. The rule most experienced operators follow: cut on movement or speech, dissolve on stillness or mood shifts. It’s not a law, but it’s a good default while you’re building instincts.
1
0
Feb 14 •
Video 101 - GFX/Video Switchers
Here’s a quick video that explains how video switchers work!
0
0
Feb 10 •
LED Wall 101
Here’s a great playlist to watch if you’re interested in learning about LED walls! https://youtube.com/playlist?list=PL7ihOiAqpFNs5ACFEZO-b5CpI-gTHfaMg&si=ZpfZowpMoaWNSTyO TLDW Bullet Points: - you build the wall in the shape you want. - each column starts with a header bar usually clamped onto steel truss or pipe. - attach and connect all your header bars in a row. - then connect your first panel to the header bar of the column you want to start with. - then connect your subsequent panels working downwards until you’ve completed your column. - each panel generally connects with magnets initially and then locks in securely with latches. - now you just repeat this process but connect the panels both vertically and horizontally to adjacent columns. - then you connect the power cables (consider how much power each panel requires and plan based on your circuit capacity). - you start with your power source and then connect to the ‘power in’ on your first panel. - then you daisy chain each panel from ‘power out’ to ‘power in’ until you’ve reached the max capacity for that circuit (e.g., 15 Amps). - then you connect the data cables (home run from either data port (data is bi-directional) on your first panel to the video processor’s output and content connected to the processor’s input, LED panels daisy chained in a specific pattern you need to enter in the processor). - Similar to power, there is a limit for how many panels can have their data daisy chained together. Once you reach that limit, you will need to run another Ethernet cable from another output on the processor to the next panel that requires a new data line. - A common processor like a Nova Star, will be able to support up to 655,360 pixels. - Divide that number by the total pixels on just one of your LED panels (e.g. 40,000 on a 2.5mm panel) and that will tell you the maximum number of panels you can connect on each of your processor’s data ports (e.g., 16 panels). - Next, plan your data path shape. Keep in mind, Nova Star processors see everything as squares or rectangles, so the shape you pick must either be a complete square or rectangle (I.e., no outlier panels). This means sometimes you will need to use shapes that have less panels than your limit. - Next, you need to do “mapping”. This simply means telling the processor how you mapped your data paths. There’s two ways to do this. - The first way is using the front led panel of your processor. This works for snaking patterns. From the menu, select ‘screen configuration’ then ‘quick configuration’. Set the number of rows and columns your video wall has, the number of panels connected to the first data port, and the pattern you used for that data path (audience perspective). - You can also map your video wall using software like NovaLCT. To start, connect your computer running NovaLCT to the back of your processor via USB. - Then select ‘user’ —> advanced user login, and enter “admin” for the password. - Then select ‘screen configuration’ —> ‘next’. - Then select the ‘screen connection’ tab. Then repeat the same process we did on the processor. - Once you’ve mapped all your data ports, click ‘send to hardware’ —> ‘OK’ twice —> ‘save’ and you’re done! - Now simply plug in your content source (e.g., laptop) to your processor (e.g., via HDMI), select your input (e.g., HDMI 1) and if your processor has a scaler, make sure it’s enabled by checking if the ‘scale’ button is illuminated.
0
0
Feb 10 •
Video Tools and Resources
Kards - Test Pattern and Video Sync https://alteka.solutions/kards Vioso - Lots of cool stuff. For blending and alignment: Go to website —> Tools tab —> Test Pattern Generator Vioso Tools also has Calibration Kit Finder: tells you the suitable camera and lens for your situation based on screen size. Vioso Tools also has a HAP encoder for high quality video playback with no lag. https://vioso.com Plane 9 - GFX Generator/Visualizer Handy for moving object projection as it has lots of templates for different vibes and does the work of removing the background for you. https://www.plane9.com
0
0
Jan 7 •
Projection Blending 101
First post of 2026, let’s go! Here’s a great video on the basics of projection blending. Enjoy!
1
0
1-11 of 11
powered by
skool.com/the-av-wizards-club-1325
THE #1 Community For Learning Audio, Lighting, and Video. Join today to become a Wizard at event technology and content creation! 🧙🏻♂️
Suggested communities
Powered by