
Write something
Pinned

May 13 •
The Economics of "Pure Cinema"
The greatest filmmaking textbook ever written wasn’t a book at all. It was a 109-minute "low-budget" shocker released in 1960. After 30 years in the director's chair and two decades in the classroom, I’ve realized that if you want to master the architecture of visual storytelling, you have to stop looking at Psycho as a movie and start looking at it as a blueprint. Welcome to a new series: Notes from Psycho. The Economics of "Pure Cinema" At the end of the 1950s, Hollywood was entrenched in an era of grandiose spectacle—lush Technicolor and massive studio budgets designed to overwhelm the spectator. Hitchcock, coming off the lavish success of North by Northwest, did something radical: he stripped it all away. Paramount Pictures found the source material for Psycho repugnant and refused to finance the picture, so Hitchcock independently financed the film himself for a mere $800,000. He abandoned his elite feature-film collaborators and brought in his television crew from Alfred Hitchcock Presents. This crew operated with an efficiency that fundamentally altered the aesthetic texture of the film, proving that the power of cinema does not emanate from massive budgets, but from the mechanical assembly of visual and auditory information. He referred to this philosophy as "Pure Cinema". Stripping the Frame To find the "purity" of the medium, Hitchcock systematically removed the visual comforts of the era. He removed color, choosing black and white primarily as a strategic choice to abstract the violence. This monochromatic palette allowed him to strip away the distraction of color, forcing the audience to focus entirely on geometry, contrast, and form. He also restricted the lens, insisting that the vast majority of the film be shot using a 50mm lens. This specific focal length closely approximates the natural field and spatial compression of the human eye. By restricting optical distortion, Hitchcock ensured that the audience occupied the exact same spatial reality as the characters, making the viewer an active, complicit participant rather than a passive observer.
0
0
Pinned
Apr 23 •
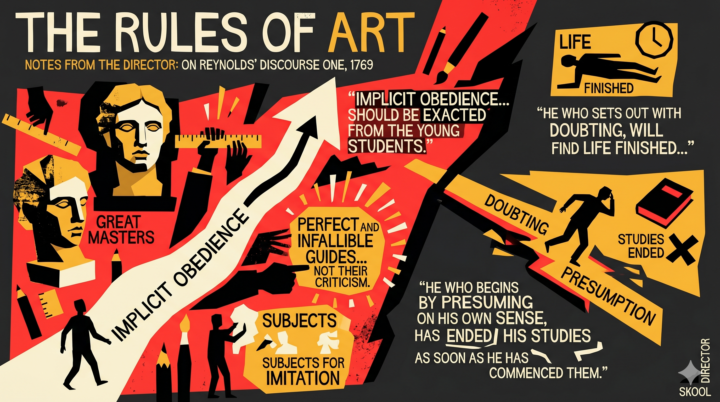
Every Skool needs some Rules.
The Rules of Art. "I would chiefly recommend, that an implicit obedience to the Rules of Art, as established by the practice of the great Masters, should be exacted from the young Students. That those models, which has passed through the approbation of ages, should be considered PERFECT AND INFALLIBLE guides; as subjects for their imitation, and NOT THEIR CRITICISM. I am confident that this is the only efficacious method of making progress in the arts; and that he who sets out with doubting, will find life finished before he becomes the master of the rudiments. For it may be laid down as a maxim, that he who begins by presuming on his own sense, has ended his studies as soon as he has commenced them." - Sir Joshua Reynolds, Discourse One, 1769
1
0
Pinned
Apr 18 •
START HERE: The Director’s Intent
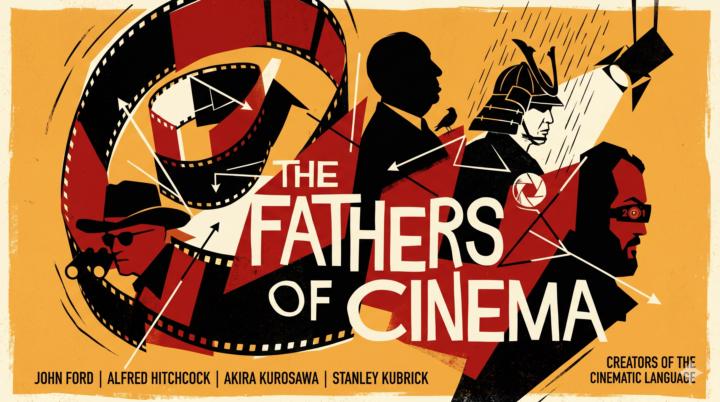
Most creatives today are drowning in the 'How.' How do I learn the latest software update? How do I fix this shot? How do I keep this Fortune 500 client happy when the brief changes at the 11th hour? In this community, we focus on the 'Why. I spent years in academia and more in the trenches of Hollywood and corporate boardrooms. The tools always change, but the principles of the Grand Tradition, the visual language used by Hitchcock, Ford, and Pyle, never do. You are here to stop being a technician and start being a Director. I’m Wayne H Johnson Jr. I’ve chaired film departments, produced VFX for major studios, and currently direct creative for some of the world's largest brands. My goal is to give you the ultimate competitive advantage: 30 years of classical fundamentals translated into practical, real-world visual problem-solving. Your First Mission (Do This Now) Go to the 'Fathers of Cinema' module. Don't just watch the lectures. Open the interactive Director's Research Database I’ve built for you. Use it to find one compositional principle from a Master that you can apply to a project you are working on today. Post that insight in the 'General' tab. We value 'Action Economy.' Don't just lurk. If you find a solution to a visual problem, share it. If you’re stuck on a 'Pressure Psychology' concept, ask. We are building a unified creative language here.
May 13 •
The mechanics give it structure. The mileage gives it a pulse.
When you are directing a film or designing for a massive live event, the goal is always to make the audience feel something specific. But how do you evoke a genuine response? You cannot simply engineer it. You must have lived it. The depth and breadth of human emotion requires a massive inventory of experience. This is exactly why most of the great painters of the Grand Tradition didn't reach their true zenith until they were in their eighties. They had to accumulate the miles. They had to suffer loss, experience ultimate joy, and feel the full spectrum of the human condition before they could accurately command it on a canvas. An artist has to live a life. You will eventually find your range, but you have to put in the time. For me, the ultimate amplifier of that range was fatherhood. When you have children, you suddenly feel everything they feel. The hurt, the sudden flashes of anger, the desperation, and the manic excitement of life. It physically rewires your empathy and unlocks emotional depths you didn't even know you possessed. When I am at the drafting table exploring an artistic idea today, I don't just think about the target mood. I embody it. I force myself to hold that specific feeling in my chest while I build the composition. The Grand Tradition provides the tools. The mechanics of lighting, composition, and color theory are what I use to build the visual framework. But the raw feeling driving those tools is entirely my own. Know yourself, know your people, and live enough life to fuel the work. — Notes from the Director

8d •
Hello my name is Isaac
I'm really looking forward to joining this community! I know I'm going to learn a lot from all of you.
1-30 of 102
powered by
skool.com/racons-academy-4096
Helping professional creatives master the craft and taste of world-class visual storytelling.
Suggested communities
Powered by