

Feb 22 •
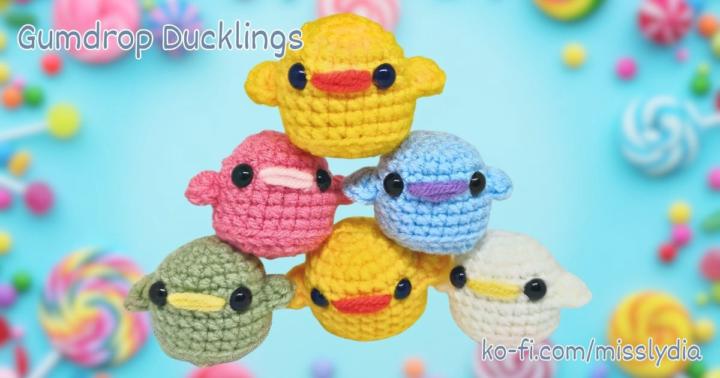
Gumdrop Chicks/Ducklings (Free Pattern)
I am still working on a video tutorial for these little friends, but if you don't want to wait to get started, here's the written pattern. Let me know if you notice any errors or have any questions! Gumdrop Duckling US terminology Tools and Supplies: • Medium Weight (4) yarn in 2 Colors: Body and Beak • 3.5 mm(E) hook • Scissors and yarn needle • Stitch marker • 8mm safety eyes • Stuffing Instructions: R1: using body color, sc 6 in mr (6) R2: inc x6 (12) R3: (sc, inc) x 6 (18) R4: (sc 2, inc) x 6 (24) R5-R6: sc (24) R7: (In FLO of next st, dc 5. Using both F&BL, sc 11.) x 2 (24) R8: DO NOT crochet on top of the 5 dc cluster. Instead, sc in the remaining BL, sc in the next 11 st, sc in the remaining BL, and sc 11. (24) R9-R10: sc (24) Attach eyes between R6-R7, about 5 st apart. Thread a yarn needle with beak color and embroider a straight line between the eyes. Layer embroidery stitches until you have the desired result. (about 3 times) Tie off beak color and resume crocheting. R11: in BLO, sc (24) R12: (sc2tog, sc) x 8 (16) R13: sc2tog x 4, stuff firmly, sc2tog x 4 (8) Finish with a sl st and fasten off. Hide tail inside of the stuffy.
2
0
Feb 17 •
Crochet tutorial - Mushroom Chapstick Holder
Feel like a challenge? I just finished a tutorial you might enjoy! This pattern works up into a small holster for stick-type lip balm and other similarly shaped/sized items. Mushroom Lip Balm Holder Written Pattern (video tutorial: https://youtu.be/YSiSn_xc1XE) US terminology Tools and Supplies: • Medium Weight (4) yarn in 3 colors: Stem, cap, and green • 3.5 mm(E) hook • Scissors and yarn needle • Stitch marker Instructions: Start with the bottom of the stem. R1: using stem color, sc 8 in mr (8) R2: inc x 8 (16) R3-R9: sc (16) Stem skirt (aka R9 1/2) In the FLO of R9, sl st, ch 3, and 3tr in the first st. Then, 4 tr in the FLO of the remaining stitches. Sl st into the ch3, then ch 3 again and sl st into the BL of the first st of R9. R10: (resume the stem) Sc in the same st as the sl st, then sc in every remaining st (16) R11-14: Sc (16) Finish with a sl st and fasten off. Weave in the tails. Strap Using green, sl st into any st on R14 of the stem. Ch 25, and sl st into the 9th st from the one your originally joined to. Fasten off, and weave in the tails. Cap R1: Using cap color, sc 6 in mr R2: inc x 6 (12) R3: (sc, ince) x 6 (18) R4: [sc, ch 1, sk 1, and position strap in the ch space before inc on the next st. (sc 2, inc) x 2] then repeat the steps between the [ ], being mindful to secure the strap in the correct position. (24) R5: (sc 2, inc) x 8 (32) R6: (sc 3, inc) x 8 (40) R7: sc (40) Finish with a sl st and fasten off. Change to stem color and join to BLO of any st in R7. R8: in BLO, ch 3. (Tr4tog, tr) x 7. Tr4tog, and sl st to ch 3 (16) R9-R10: sc 16) Finish with a sl st and fasten off, weaving in any remaining tails.
1
0
Feb 15 •
Crocheted Pocket Heart
I know V-day was yesterday, but it's always a good time to make little hearts. These pocket-sized hearts work up quickly and easily, and can be scaled up with thicker yarn and a larger hook into the perfect stress-squeezer size. If you make a heart, I would love to see it!
1
0
1-3 of 3
Suggested communities
Powered by