
Write something

Dec '25 •
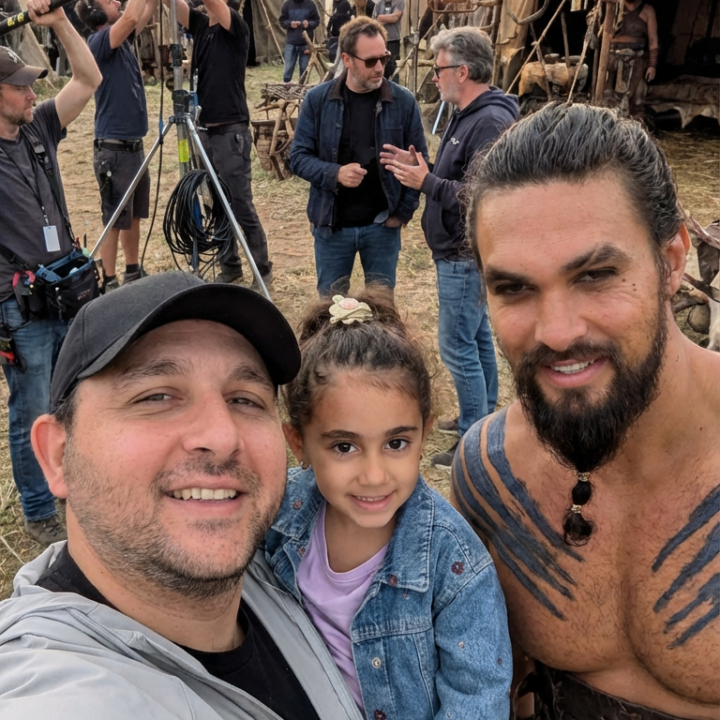
AI Celebrity Selfie Video Tutorial
This tutorial shows you how to create that viral celebrity selfie video using AI. You’ll generate high-quality celebrity images, then stitch them together using an image-to-video model with first and last frames to create smooth transitions. No filming. No complex edits. Just a clean, repeatable workflow. The steps are short and practical. You get the exact process, the tools, and the logic behind looping frames so every clip flows into the next without jumps or cuts. What you’ll learn - What this effect does: creates a continuous celebrity selfie sequence that feels natural and fluid - Tools you need: Higgsfield, Kling 2.5 Turbo, and any basic video editor - Time needed: about 10 minutes if you follow the steps as is, or 30 minutes if you customize prompts and pacing - Difficulty level: 1 Detailed Tutorial here. Final output here
0
0
Dec '25 •
AI Scene Transition Tutorial
This tutorial walks you through how to create smooth scene transitions using AI. You’ll generate your base images in Midjourney, prepare a visual-change prompt, and then use an image-to-video model (like Kling O1 Video) to blend scenes together in a clean, natural way. The steps are short and easy to follow. You’ll get the prompts, the workflow, and a clear explanation of how to connect one scene to the next without manual editing. This method works even if you're shooting alone and requires no advanced video skills. What you’ll learn - What this effect does: create smooth transitions between scenes using AI - Tools you need: Midjourney and an image-to-video model like Kling O1 Video and CapCut - Time needed: about 5 minutes if you use the prompts as-is, and around 30–40 minutes if you plan to modify them using ChatGPT, Gemini, or other tools - Difficulty level: 2 Detailed tutorial here
0
0

Dec '25 •
Ferrari Transformer
Starting Image Prompt [Google - Nano Banana Pro] First person perspective photo of a hand wearing a dark brown leather jacket sleeve, holding a gold, black, and red Ferrari prancing horse emblem. Background shows a cracked concrete airfield taxiway with puddles and white markings. The ground is wet from recent rain. The horizon is visible under a heavy grey sky with thick clouds. Soft daylight. Focus on the emblem and hand, with the background slightly blurred. Video Prompt [Google - Veo 3.1] First person POV tossing a Ferrari patch onto wet asphalt. The patch hits the ground and transforms into a solid black tire. The camera rotates 360 degrees around the tire as a Ferrari 458 Italia assembles around it in a mechanical, transformer-style sequence. The tire stays visible as the front left wheel. Chassis expands outward, red body panels attach one by one, and the signature headlights form. Once complete, the car accelerates and drives into the distance on the wet pavement. Overcast sky.
0
0

Dec '25 •
Smooth Camera Movement Tutorial
This walkthrough shows you how to create smooth, controlled camera motion using Midjourney and CapCut. You don’t need gear, a second person filming you, or complicated tools. I kept the steps short and practical so you can follow the exact process without guessing. You’ll find the prompt, the workflow, and a few tips to help you get a cleaner result. 1. What you’ll learn - What this effect does: create smooth cinematic movement using AI - Tools you need: your camera, Midjourney, and CapCut - Time needed: around 30 minutes - Difficulty level: 1 2. Prompts used (Copy & paste) Image prompt: Transform first image to second image. Make it look like smooth camera motion, while keeping the subject and background unaltered. Use as little stylization as possible for a natural, non AI-generated look. The subject should maintain eye contact with the camera throughout the transition, with no extra movements like head tilting or body movements. Variation prompt (if any): Transform first image to second image. Make it look like smooth camera motion, while keeping the subject and background unaltered. Use as little stylization as possible for a natural, non AI-generated look. The subject should maintain eye contact with the camera throughout the transition, with no extra movements like head tilting or body movements. 3. Step-by-step workflow Step 1 - Prepare a starting frame and an ending frame Step 2 - Generate the clip on Midjourney (check the video on the left) Step 3 - Stick everything together using Capcut or any similar tool (check the video on the right)
0
0
1-4 of 4
powered by
skool.com/ai-with-mb-9639
AI made simple ⚡
I test tools so you save time
Workflows, reviews, and real results
Suggested communities
Powered by