Activity
Mon
Wed
Fri
Sun
Jul
Aug
Sep
Oct
Nov
Dec
Jan
Feb
Mar
Apr
May
Jun
What is this?
Less
More
Memberships
Yardstead Society
407 members • Free
12 contributions to Yardstead Society

26d •
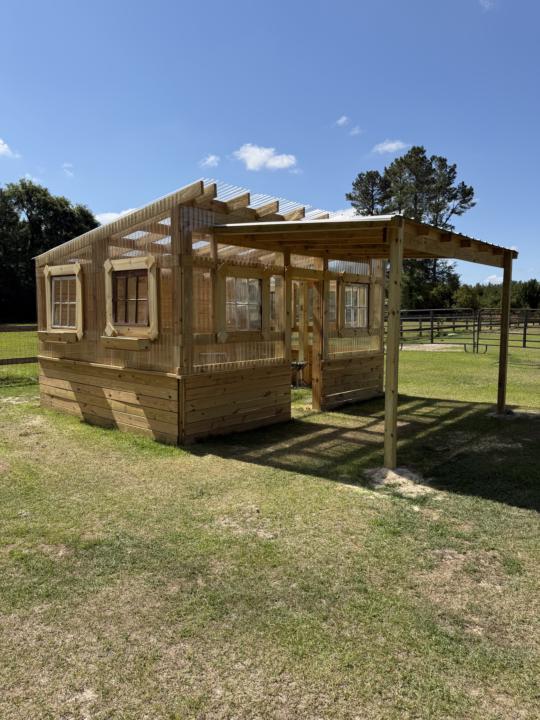
Finally Finished.
Finally finished our build. Still have the interior and some finishing touches (like a door). Really happy with the results and features we added.

3 likes • 26d
I like it with the outside cover. Nice job. Congrats and enjoy.
27d •
Use your points to buy plants!
Today I stopped by my local grocery store and wandered through their little garden centre just to see what they had. Honestly, it’s usually pretty limited, but this year they actually had perennials and trees for the first time, which was a nice surprise. I ended up putting my points to good use and treated myself to 5 Saskatoon bushes, 2 climbing roses, and 2 hydrangea trees. All for free!! Sharing this in case it sparks an idea for someone else. 😊 Happy plant shopping! 🌿

1 like • 26d
I’m confused on points. Am I missing something
1 like • 26d
Nice
May 14 •
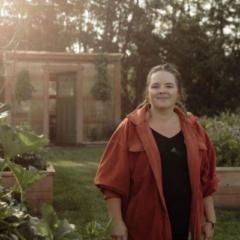
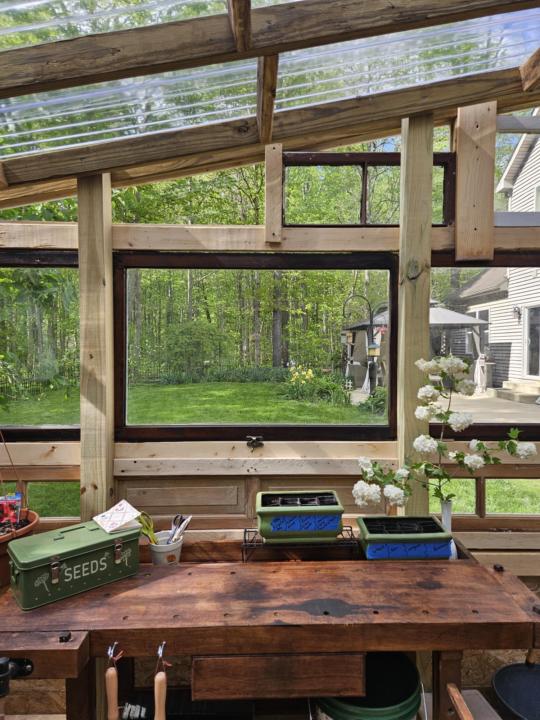
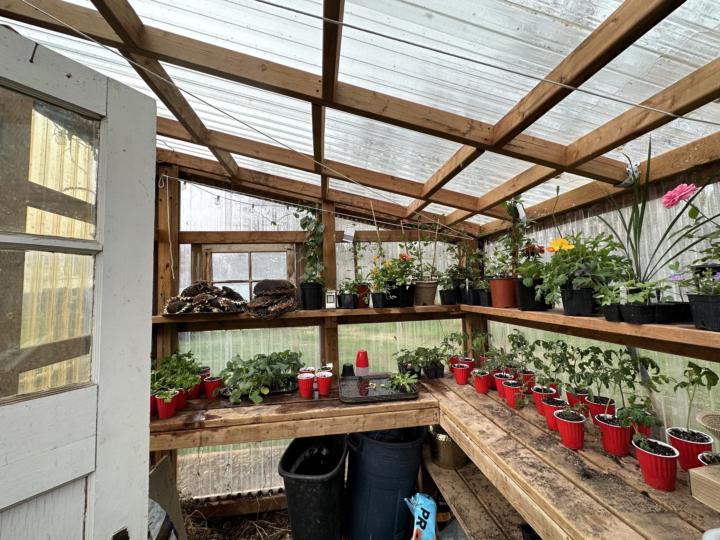
Another customized Petunia Greenhouse!
I get asked all the time if our plans are customizable. Although they aren't specifically designed to be customized, many, and I mean many, of our customers successfully customize our plans so that they can build their picture perfect greenhouse. This is what Jillian had to say when I asked her to share about her experience! "We love gardening and growing our own food, it’s incredibly rewarding, and everything tastes so much better fresh from the garden. Living here in Indiana, though, the growing season can feel especially short, particularly when it comes to starting vegetables early. That’s what led us to build a greenhouse. We originally had a greenhouse from a big-box store, but after several Indiana winters, it simply didn’t hold up. When we found these plans, we felt they were straightforward, well-designed, and easy to follow as written. At first, we planned to modify them to match the size of our original 10x12 greenhouse. However, after discovering a local business that sells repurposed windows and doors, we decided to incorporate those materials into the build and customize the design even further. Jill"
1 like • 26d
It’s wonderful. How big is it now? Love some advice for altering if that’s a fair ask. I can’t wait to get a new home and build one. My box store one won’t hold up to ny wi Tera so it’s staying here in Seattle.
May 6 •
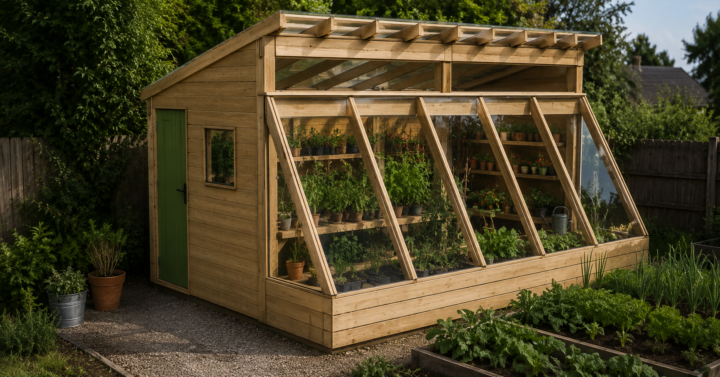
Tell me what size your dream greenhouse is?!
We’ve got another greenhouse build coming up in the next few weeks, and I’m completely torn on what size to go with. I’d love your input. What does your dream greenhouse look like? How big would you build it? And what kind of budget would you realistically want to stay within? I’m sharing my latest concept here for context. Right now I’m leaning toward a 12' x 20' design, built as a passive solar greenhouse. The goal would be to push it closer to a true 4-season growing space. Curious to hear what you'd do.
2 likes • May 13
My dream is a sole year round green house. 12x20 sounds big but think it’s perfect for a year round. Need more space then just a couple seasons
May 4 •
Make Sure You do This With the Plants That You Buy!!
Hardening off is something a lot of beginners skip because nobody tells them about it, and then they wonder why the plants they bought look terrible a week after planting. Here's what's actually happening and how to do it right. When plants are grown at a nursery or greenhouse, they live in a protected environment with consistent warmth, no wind, and filtered light. It's basically a spa. Then you bring them home and put them straight in the ground, and suddenly they're dealing with direct sun, temperature swings, and wind they've never experienced. The leaves scorch, the plant wilts, and it looks like you killed it immediately. You didn't do anything wrong. It just wasn't ready. Hardening off is the process of slowly introducing your new plants to outdoor conditions over about a week so they can build up the toughness they need. You're helping them develop thicker leaf surfaces, stronger stems, and the ability to handle varying weather. Here's how to do it (and yes it is important that you do it): Day 1, set the plants outside in a shady sheltered spot for an hour or two and then bring them back in. That's it. You're just introducing them to outdoor air and temperature. Day 2, same thing but leave them out for three to four hours. Still shade, still sheltered. Day 3, start giving them a little dappled light and leave them out for about four hours. You'll notice them starting to look a little sturdier already. Day 4, they're ready for some real sun now. Morning sun is gentler than afternoon sun so position them to get that first. Leave them out for half the day. Day 5, most of the day outside with more direct sun exposure. Bring them in before evening. Day 6, out all day. At this point they should be handling it well. Day 7, leave them out overnight if temperatures are safe for that plant. After that they're ready to go in the ground. A few things that actually matter during this process. Check your plants every day because containers dry out much faster outside, especially with any wind. If a cold snap or heat wave is coming, just bring them in and pick up where you left off. And don't skip this for tomatoes or peppers. Those are the ones most likely to struggle if you rush it. Hardy annuals like marigolds or pansies are more forgiving, but the warm season vegetables really do need this transition time.
2 likes • May 5
Never realized I needed to do that and of course didn’t read prior to planting and some are struggling. More knowledge for next year. Thanks
1-10 of 12
@terri-mcdonald-2631
Backyard gardener wanting to learn more to do better/more
Active 24d ago
Joined Mar 16, 2026
Powered by