Activity
Mon
Wed
Fri
Sun
Aug
Sep
Oct
Nov
Dec
Jan
Feb
Mar
Apr
May
Jun
Jul
What is this?
Less
More
Memberships
C1M The Joy of Photography
40 members • Free
4 contributions to C1M The Joy of Photography

Nov '25 •
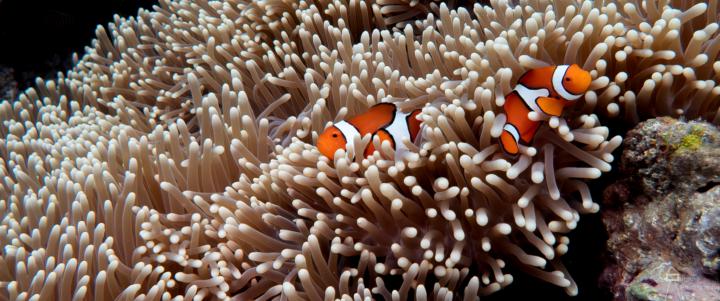
Pop Your Nature Subject off the Background
Walter asked about techniques we use in our storytelling for our images, so I'm sharing a bit of info on a go-to I use in Lightroom. While you want that picture as perfect as you can get it right in the camera, there's no shame in leveraging the digital dark-room to do some dodge & burn, etc. Sometimes the light in a nature photo will cause very even light distribution of your subject & the area around them, which makes them sort of just blend in. To help them pop out a bit off the background, you can go into Lightroom, and create a mask around your subject(s). Sometimes the auto "subject" detector will do a good job, other times you may need to clean up the edges of the mask a bit - it's important to take the time for this otherwise you can end up with really weird halos around the subject that are a sign to the viewer that something isn't right. Once you have your masks, increase the brightness a bit - I usually just do around a 1/3 of a stop or so, but you can look to see what feels right. Then duplicate & invert the mask, and this time for the "everything but your subject" mask, decrease the brightness by 1/3 to 1/2 a stop. Done well, the subject should pop out of the background a bit, but not so much that someone thinks "this doesn't look natural". Here's an example where I used the above technique in my edit of 2 clownfish in an anemone. It lets them become the key focus of the story in the image.
1 like • Nov '25
Thank you Larry, will give this a try

Nov '25 •
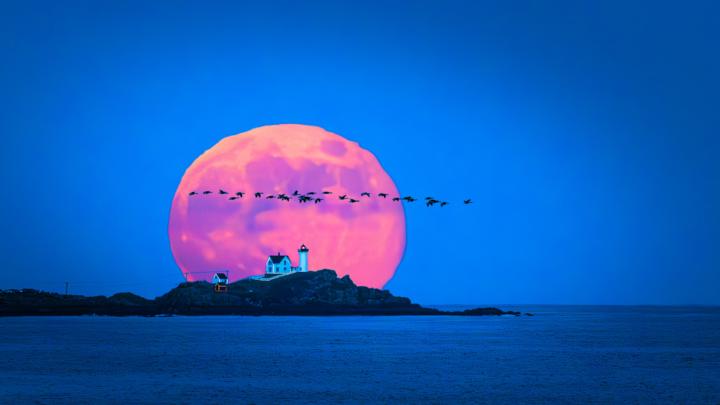
November 5th, 2025 - 4:13pm
To capture the year's largest moon rising behind nubble, check the comments:
0 likes • Nov '25
Wow!!
Nov '25 •
Post your favorite
Fall photo. We're having such a beautiful Fall this year. It's November already and the colors are still stunning. Post your favorite photo on the main feed, so others get to enjoy it too.
1 like • Nov '25
@Larry Shields beautiful!
Nov '25 •
Photo Explorers travel the land,
explore beautiful places, and take stunning photos. We went to Rockport, MA to photograph Motif #1. As a school we pretty much have to.

1 like • Nov '25
@George Fitzmaurice HI GEORGE!
0 likes • Nov '25
@Darrell Scoular Took a stab at this. I like the black & white but I think this subject needs color.
1-4 of 4
